Dev Log - Multiplayer Social-Deduction Game #4
fourth in a series of dev logs for my connected games module.
🎮 Introduction
In this fourth update we are working through the core game loop. For those of you just joining, you can catch up on our initial steps and challenges in Dev Log #1, Dev Log#2, Dev Log#3. Let’s get into the details.
🤝 Matchmaking
One of the primary features we wanted to add for the matchmaking were invite codes. A common feature in coop games. PUN2 does not have built-in functionality for this and so I had to engineer my own solution. here is the original code.
1
2
3
4
5
6
7
8
9
10
11
 public static void CreateRoom(string roomName, int maxPlayers)
 {
 	if (!string.IsNullOrEmpty(roomName))
	{
		PhotonNetwork.CreateRoom(roomName, new RoomOptions
		{
			MaxPlayers = maxPlayers,
			EmptyRoomTtl = 0,
		}

    //rest of function..
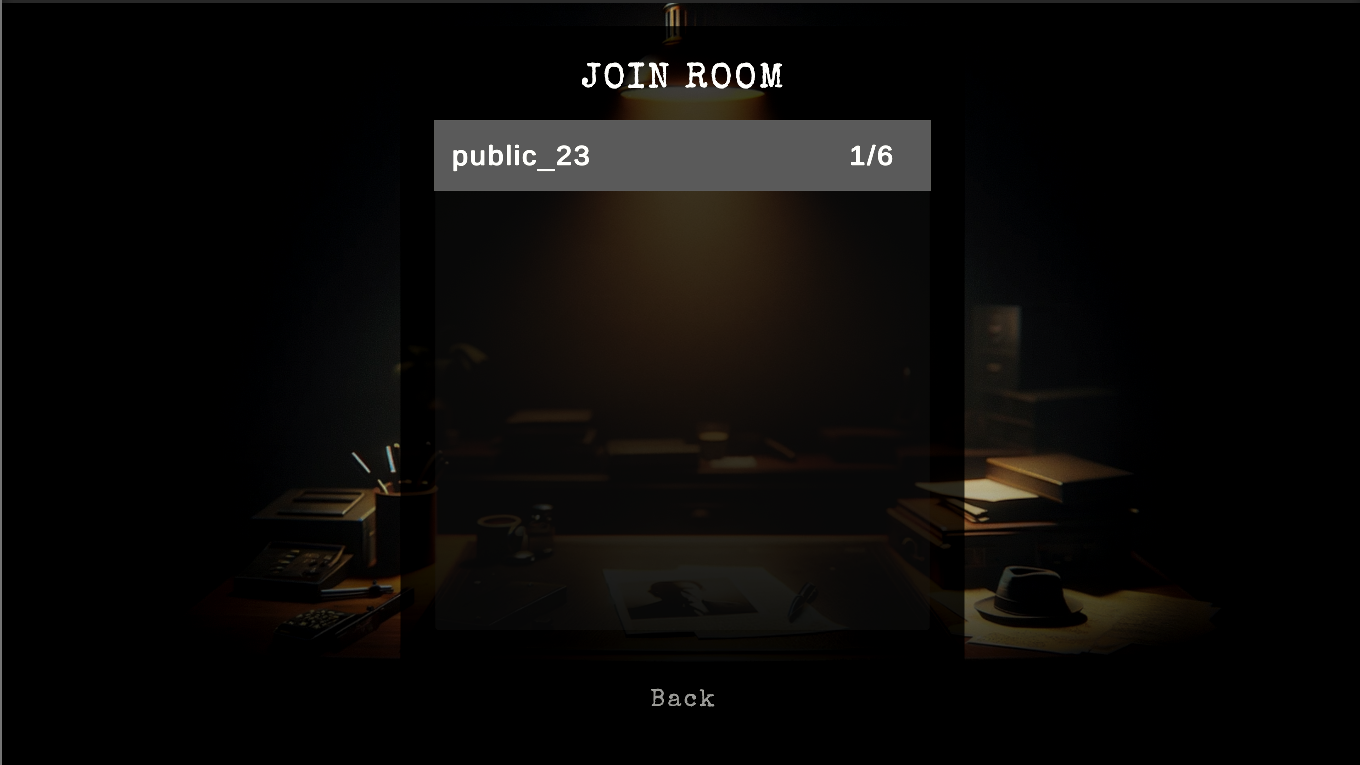
roomName would be passed through from an InputField allowing players to set their own name for their rooms. This worked as public rooms are sent as a list to every client in the lobby allowing them to browse and join them. Photon can generate unique names for each room however these are long strings that would be difficult to send to friends or copy into the game. The solution was to create a 6-digit unique code when the master client creates a room and setting this to the custom properties of the room.
1
2
3
4
5
6
7
8
 public static void CreateRoom(string roomName, int maxPlayers)
 {
     if (!string.IsNullOrEmpty(roomName))
     {
         PhotonNetwork.CreateRoom(roomName, new RoomOptions
         {
            MaxPlayers = maxPlayers,EmptyRoomTtl = 0,
	        CustomRoomProperties = RoomProperties.CreateCustomRoomProperties(RoomProperties.GenerateCode())
This way we can filter rooms by the custom properties and search for a room. This worked in practise but we ran to one more obstacle. We wanted to add private/invite only rooms. PUN2 has a property called IsVisible which allows us to do this, however, when a room is set to private it does not appear in the room list. It effectively breaks our previous functionality as we cannot search for the room in the first place.
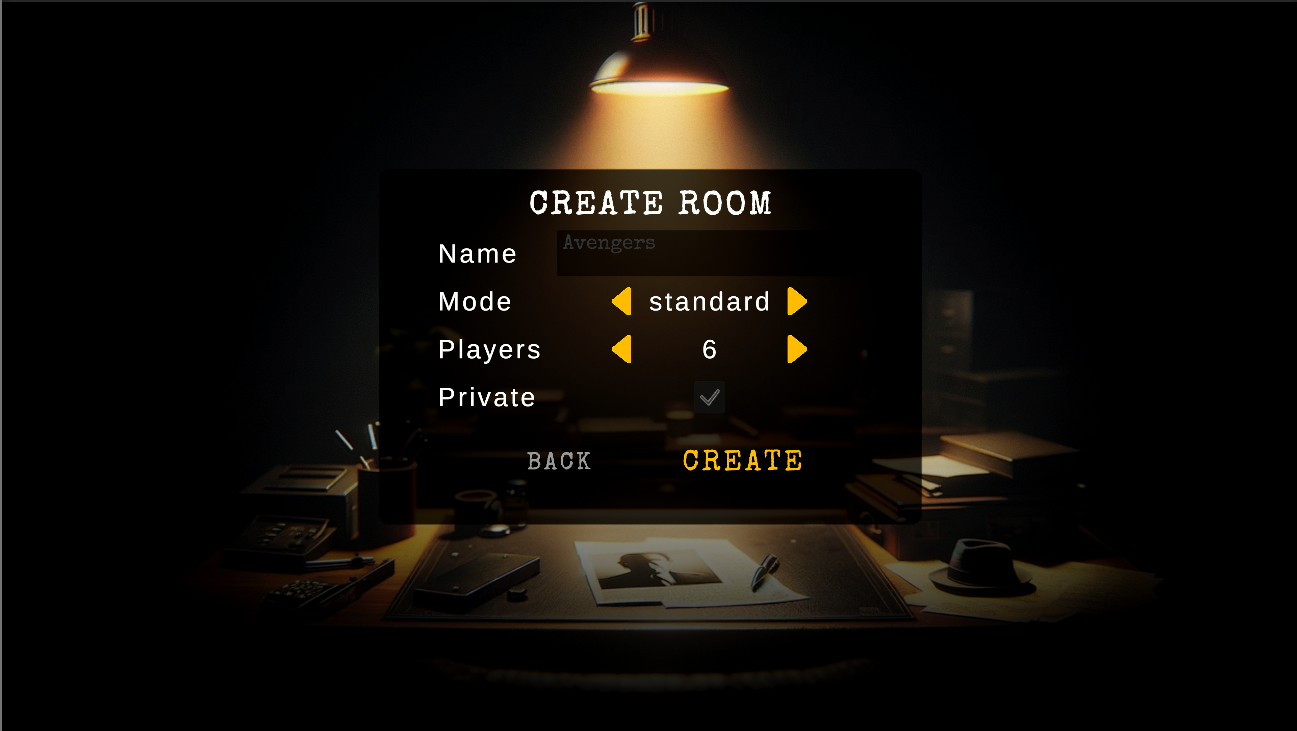
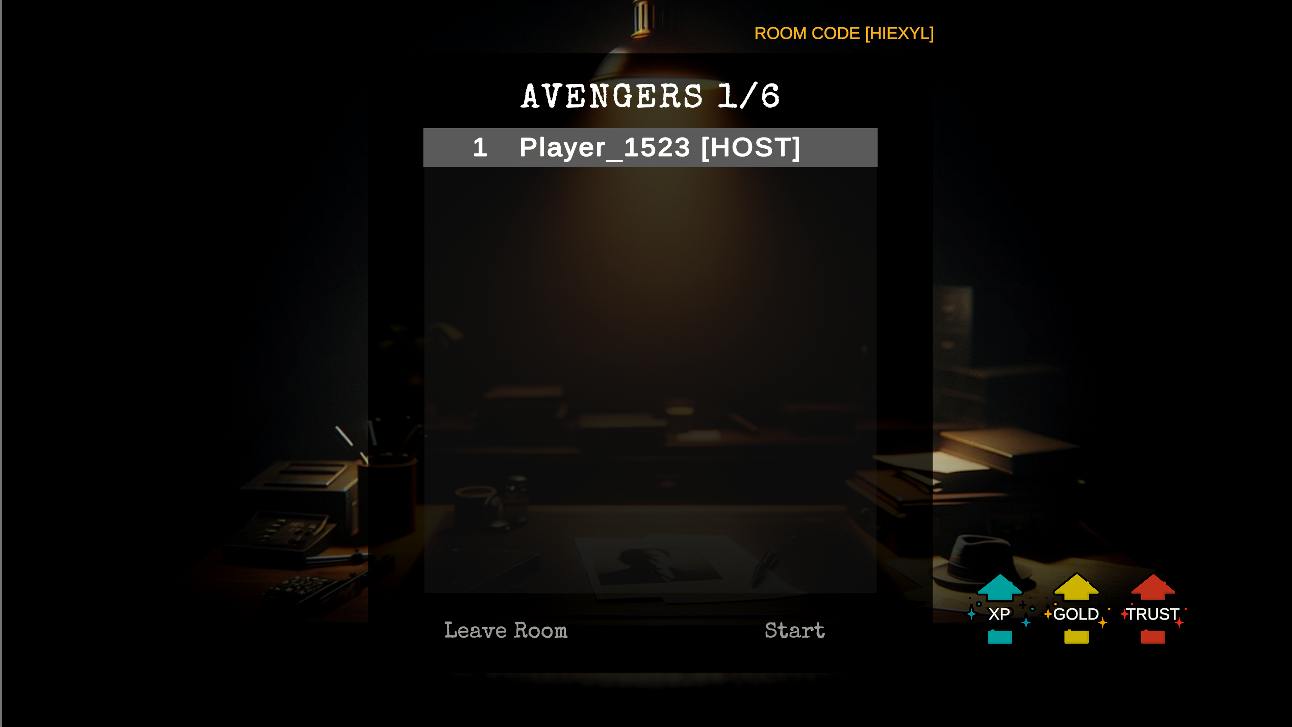
The workaround I came up with is to use the generated code as the name of the room. As players can join both public and private rooms by typing their names. To maintain a more readable display name we move this to the custom properties. With this solution we can still display public rooms with the chosen display names through the custom properties and join private rooms through the invite code.
Here is the final function:
1
2
3
4
5
6
7
8
9
10
11
12
public static void CreateRoom(string roomName, int maxPlayers, bool teamsMode, bool inviteOnly)
 {
     if (!string.IsNullOrEmpty(roomName))
     {
         PhotonNetwork.CreateRoom(RoomProperties.GenerateCode(), new RoomOptions
         {
             MaxPlayers = maxPlayers,//RoomProperties.MaxPlayersPerRoom,
             EmptyRoomTtl = 0,
             IsVisible = !inviteOnly,
             CustomRoomProperties = RoomProperties.CreateCustomRoomProperties(false, roomName, teamsMode)

            //rest of function..
🖥️ Matchmaking Screens
⚙️ Game Systems
🔄 Game Loop
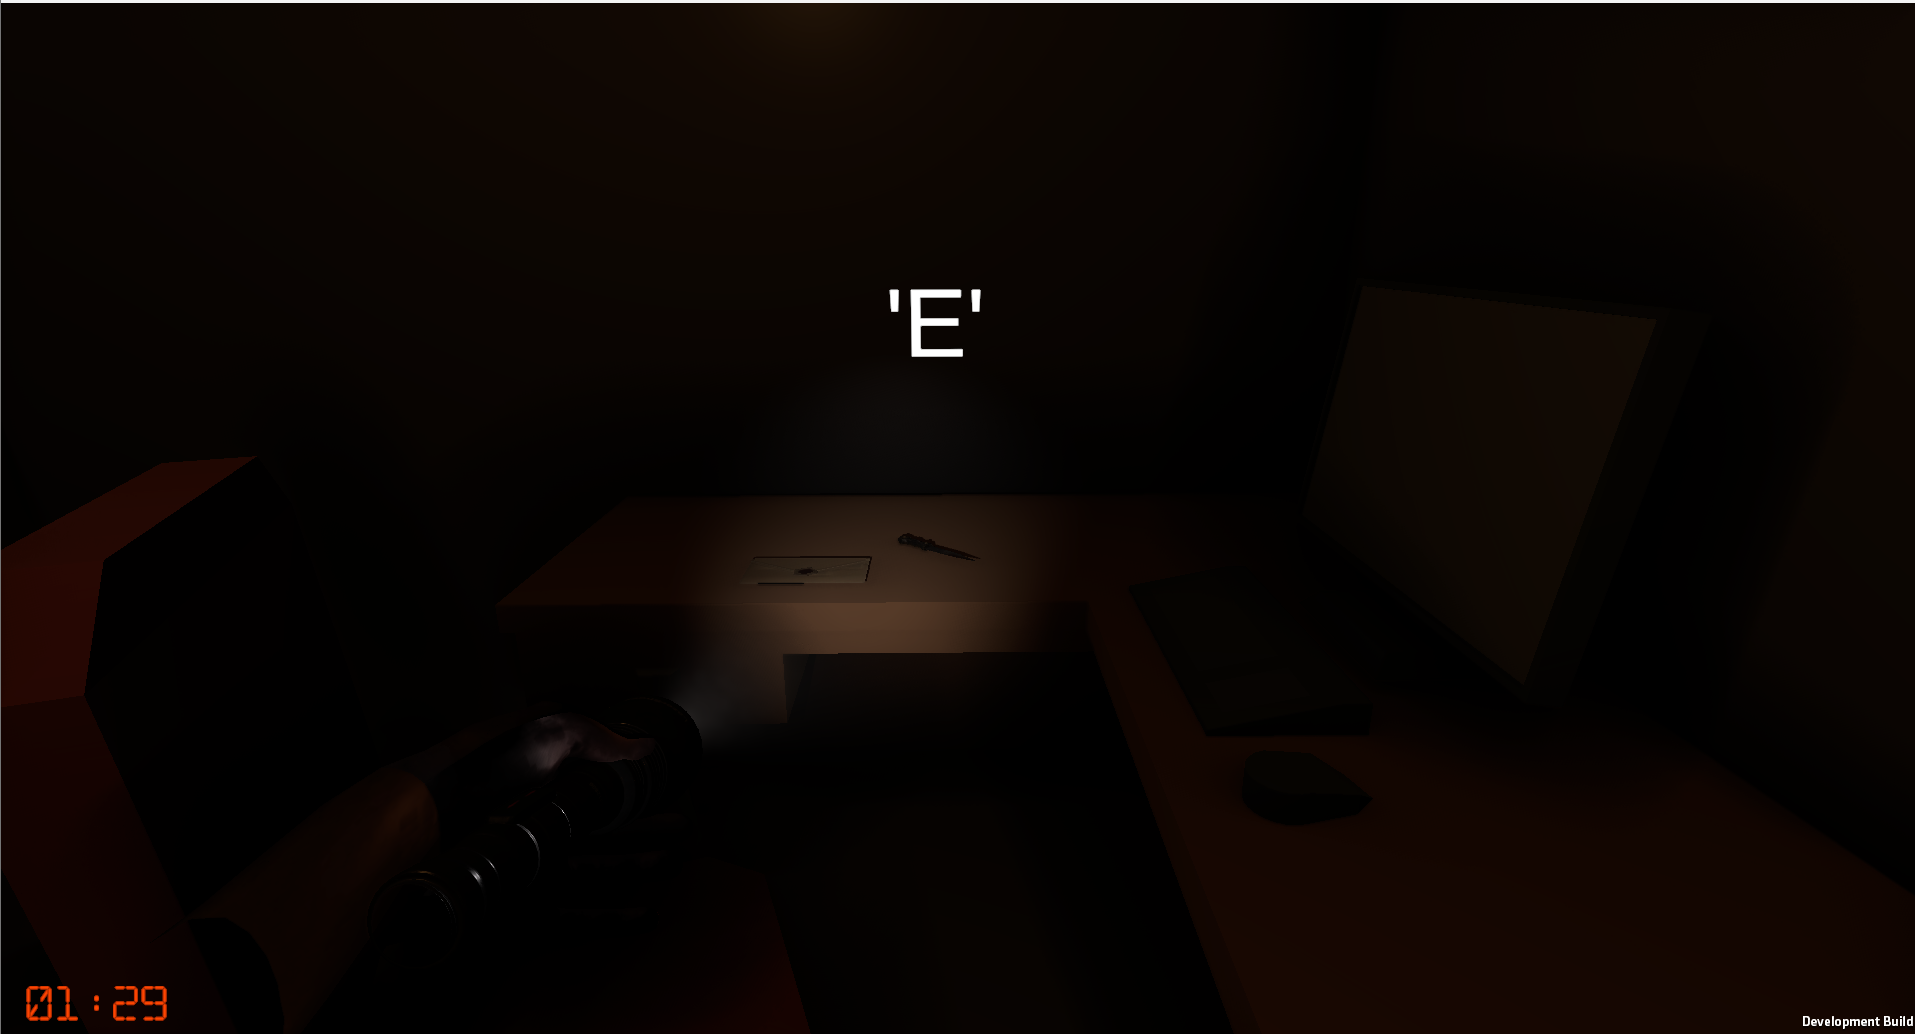
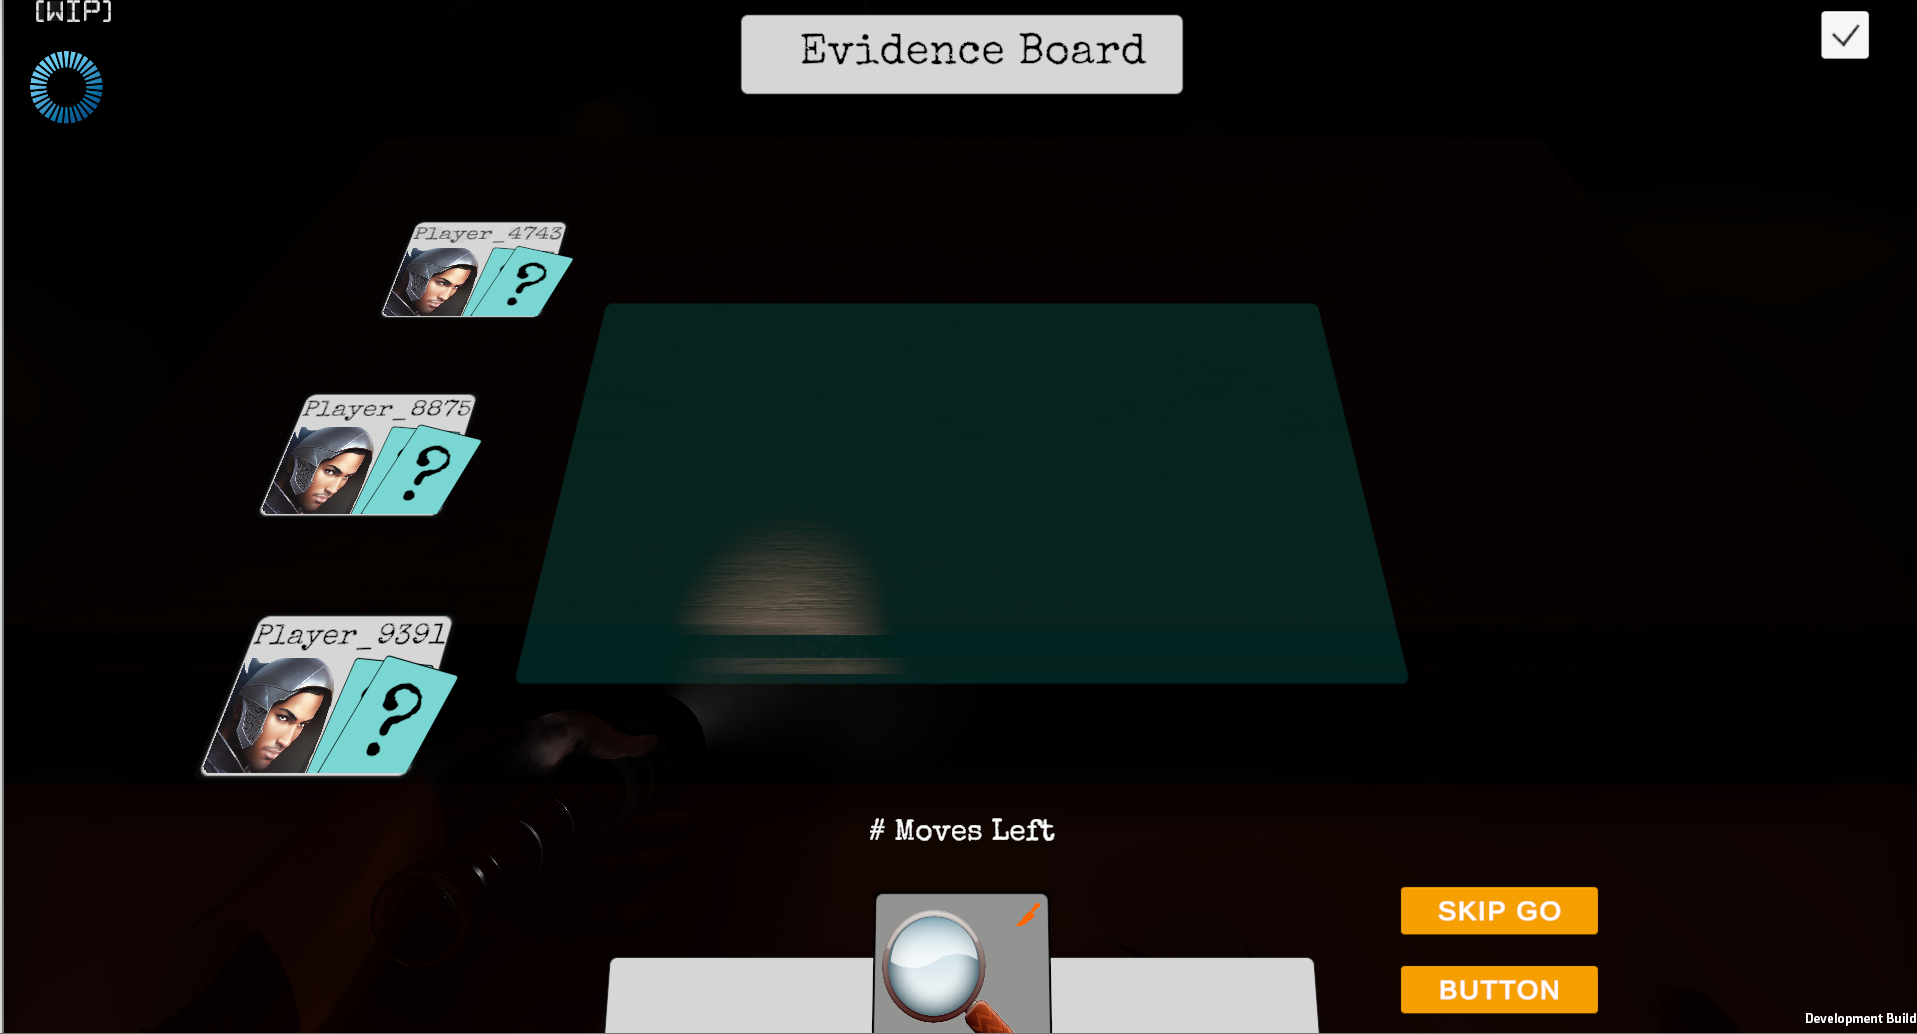
The game consists of 2 distinct rounds that loop until a player solves the case. The first round is the investigation phase: In this phase, players explore the map using tools to identify and find clues. The second round is the meeting phase: In this phase, players are taken to the evidence board where they can trade clues. Each player is given 3 turns They can share a collected clue, use a special ability and identify false evidence. In the centre of the screen we have are community cards. These are the cards that the players have chosen to share. At the end of this round the community cards are added to your evidence board helping you to solve the case.
⚙️ GameSettings
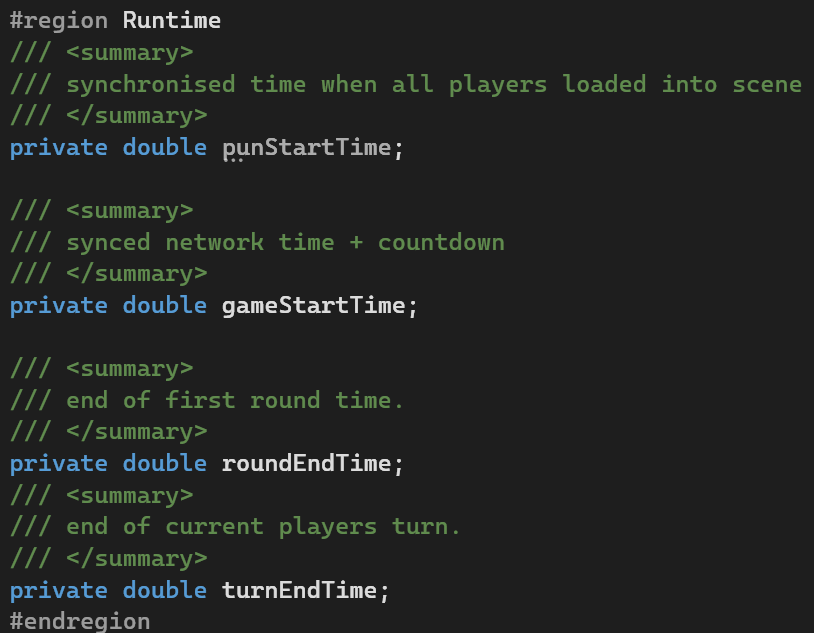
I’ve designed this scriptable object to hold all the variables for the game scene. It also holds separate runtime variables which are calculated based on a synchronised game time allowing us to match the timers for every client.

🎛️ GameManager
As one would expect, this class manages the Game Loop. The game is started once all players have loaded into the game. To track this a RaiseEvent is called from the start function on every client. This ups a counter that is tracked by the master client. Once the counter is equal to the number of photon clients we know that all players have loaded into the scene. At this point the master client calls a separate RaiseEvent, AllPlayersLoaded, passing through a network synchronised time PhotonNetwork.Time.
By passing through the time with the RaiseEvent we ensure that every client can calculate the different game times off of the same synchronised starting value. These values are set in the GameSettings object and then used in the GameManager’s coroutines to manage the game state changes.

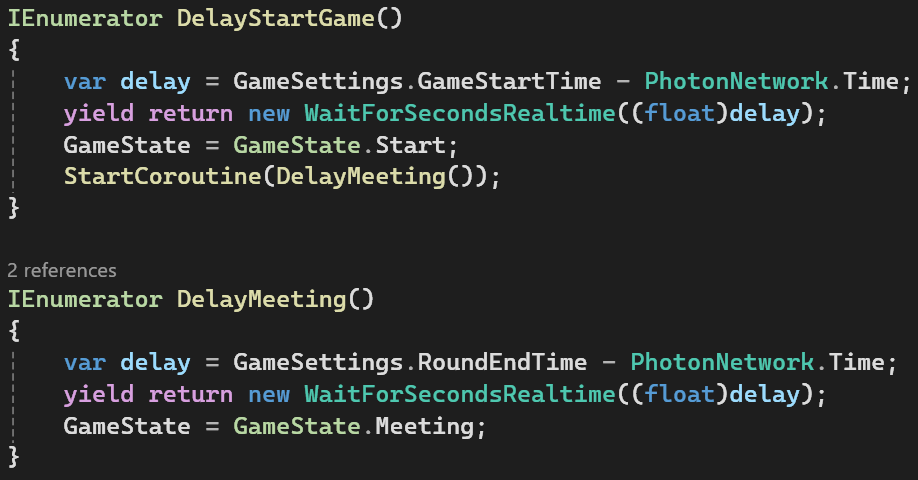
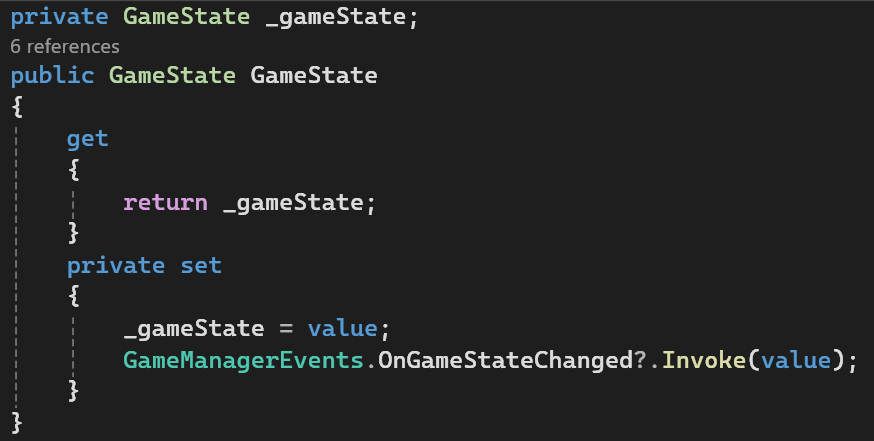
As you can see from the screenshots the GameManager also holds a value for the GameState. This is assigned as a Property as shown below.
There is nothing preventing the _gameState variable being changed directly, however, with proper comments and consistency we have a clean solution for ensuring that all other systems are updated whenever the game state changes. With this piece of code I now simply set the GameState property and the set function automatically invokes the corresponding delegate function.
📌 Next Steps
With most of the larger systems in place the next steps will be refining the UI as well adding minigames for the clue collecting and abilities

